Adding Internet Points in Your Office: A Quick Guide
SHARE POSTS:
Adding internet points in your office can significantly boost productivity and ensure your team stays connected without interruptions. Internet points, also known as Ethernet ports, provide a more stable and faster connection compared to Wi-Fi. Instead of worrying about signal dropouts or data bottlenecks, you can rely on a robust wired connection that supports high-speed data transfer.
One major benefit of adding internet points is the ability to connect multiple devices such as computers, printers, and other essential office equipment directly to the network. This setup can reduce lag and improve overall performance, making daily tasks more efficient. It also offers more reliability for activities that demand high bandwidth, like video conferencing and large file transfers.
Planning to add internet points might sound complicated, but with the right tools and a bit of guidance, it doesn’t have to be. Whether you’re expanding your office, redesigning your workspace, or just looking to improve your current network, this guide will help you navigate the process. From understanding the benefits to gathering the necessary tools and following a step-by-step installation process, you’ll have everything you need to successfully add internet points to your office.
Benefits of Adding Internet Points in Your Office
Adding internet points in your office comes with several benefits that can enhance your work environment. First and foremost, wired connections provide a more stable and faster internet connection compared to Wi-Fi. This stability is crucial for tasks that require high bandwidth, such as video conferencing, streaming, and large file transfers. With fewer disruptions and better speed, your team can work more efficiently.
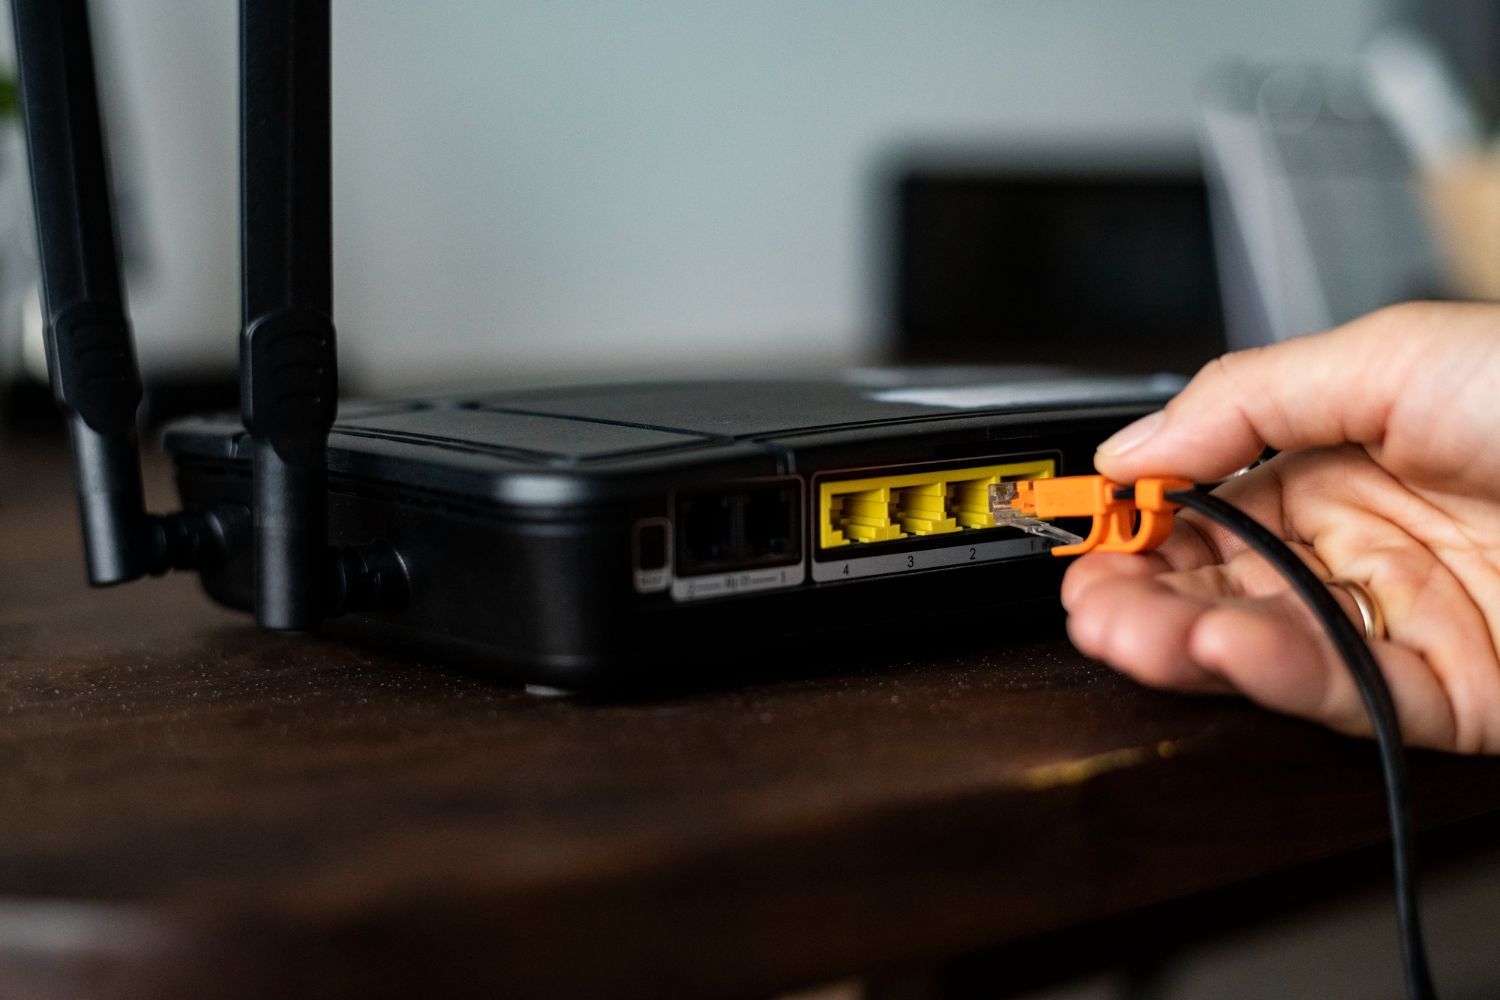
Another benefit is the ability to connect multiple devices directly to the network. Computers, printers, and even phone systems can be plugged into internet points, ensuring a reliable and secure connection. This setup reduces the risk of signal interference, which can occur with wireless connections, especially in busy office environments.
Security is also a major advantage. Wired connections are generally more secure than Wi-Fi because they are less susceptible to hacking. This added layer of security can protect sensitive data and give you peace of mind.
Lastly, having internet points strategically placed around the office makes it easy to rearrange workspaces without worrying about weak Wi-Fi signals. You can relocate desks and equipment while maintaining a strong connection, which adds flexibility to your office layout.
Essential Tools and Materials for Adding Internet Points
To add internet points in your office, you’ll need to gather a few essential tools and materials. Having the right items on hand will make the installation process go smoothly.
1. Ethernet Cables: These are the backbone of your wired network. Choose high-quality Cat6 or Cat7 cables for the best performance and future-proofing.
2. Wall Plates and Connectors: Wall plates keep your installation neat and organized. You’ll need RJ45 connectors to terminate the cables and connect them to your devices.
3. Cable Tester: A cable tester helps ensure that your connections are working properly. It can identify any faults in the wiring and verify that data transmission is functioning.
4. Network Switch: If you’re adding multiple internet points, a network switch will allow you to connect all the devices to your main network. Choose a switch with enough ports to accommodate your future needs.
5. Drill and Mounting Tools: You’ll need a drill to make holes for your cables and wall plates. Other mounting tools like screws and anchors will help secure everything in place.
6. Punch Down Tool: This tool is used to connect Ethernet cables to the wall plates and patch panels. It ensures a secure connection by pushing the wires into the IDC terminals.
Before you start, make sure you’ve gathered all these tools and materials. Being prepared will help you avoid any delays and make the installation process as straightforward as possible.
Step-by-Step Process for Installing Internet Points
1. Planning the Layout: Start by deciding where you want to place the internet points. Think about areas where you use the internet the most, such as desks, conference rooms, and common areas. Draw a simple map of your office to mark the locations.
2. Drilling Holes: Use a drill to make holes in the walls where the cables will go through. Make sure the holes are large enough for the Ethernet cables but small enough to keep the installation neat.
3. Running the Cables: Feed the Ethernet cables through the holes, running them from the wall plates to the network switch or server room. Use cable ties to keep the wires organised and secure.
4. Installing Wall Plates: Attach the wall plates to the walls where you drilled the holes. Connect the Ethernet cables to the back of the wall plates using the punch down tool. Make sure the connections are secure and tidy.
5. Connecting to the Network Switch: Plug the other ends of the Ethernet cables into the network switch. Ensure each cable is connected to the correct port as planned.
6. Testing the Connections: Use a cable tester to check each internet point. Verify that data is being transmitted correctly and that there are no faults in the wiring.
7. Finishing Up: Label each wall plate with its corresponding port number on the network switch. This helps with future troubleshooting and maintenance.
Following these steps ensures that you install internet points efficiently and correctly. Each step plays a crucial role in maintaining a reliable and organised network.
Tips for Maintaining and Troubleshooting Internet Points
1. Regular Checks: Routinely check your internet points to ensure they are working properly. Test the connections and look for any signs of wear or damage on the cables and wall plates.
2. Keep Cables Organized: Use cable ties or Velcro straps to keep your cables neat and organised. This not only makes the setup look tidy but also prevents damage to the cables.
3. Label Everything: Labeling your cables and ports can save you a lot of headaches. If a problem arises, labelled connections make it easier to identify and fix the issue quickly.
4. Avoid Physical Damage: Make sure that the area around your internet points is free from heavy furniture or sharp objects that could damage the cables or wall plates. Keep the surroundings safe and clutter-free.
5. Prompt Repairs: If you notice any issues, address them promptly. Replacing a damaged cable or fixing a loose connection can prevent bigger problems down the line.
6. Firmware Updates: Keep your network switch and other related devices updated with the latest firmware. Regular updates help maintain performance and security.
These tips can help you maintain a reliable internet setup and quickly troubleshoot any issues that may come up.
Conclusion
Setting up internet points in your office may seem like a daunting task, but with the right planning, tools, and steps, it can be straightforward and highly beneficial. Stable and fast internet connections can dramatically improve your team's productivity and flexibility. By following the step-by-step process and implementing the maintenance tips, you can ensure a smooth and efficient setup.
If you need any help with adding internet points or other electrical services, JFT Electrical Services is here for you. Our reliable
electricians in Baxter are experienced and ready to assist with all your data, telecommunication, and internet needs. Contact JFT Electrical Services today for reliable and professional support!
RECENT POSTS:


Business Hours
- Mon - Fri
- -
- Sat - Sun
- Closed